Helldivers 2: သံချပ်ကာ passive tier စာရင်း
Helldivers 2 သံချပ်ကာ POSTS: ပြည့်စုံသောလမ်းညွှန်နှင့် Tier စာရင်း
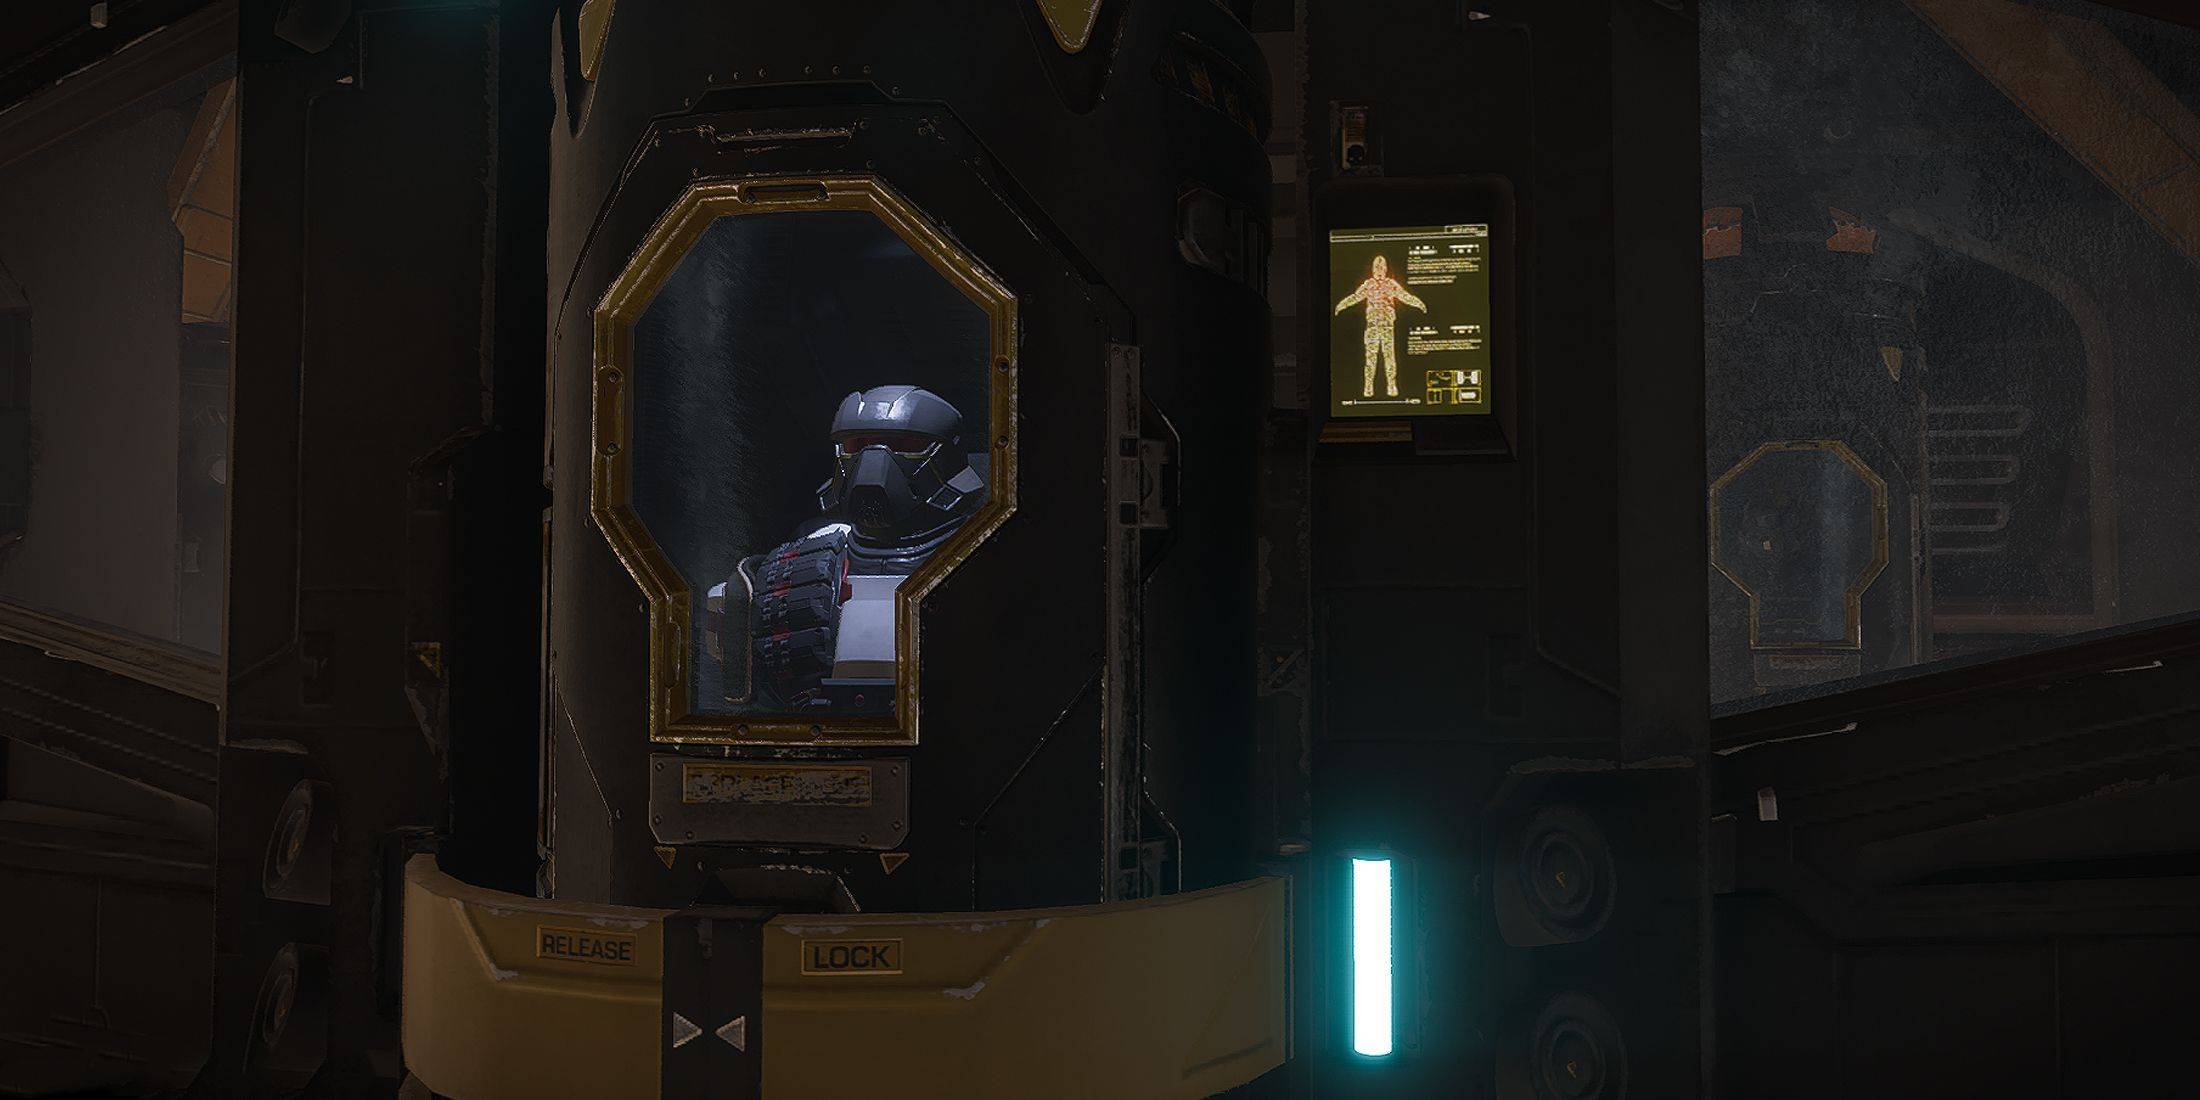
Helldivers 2 သည်သံချပ်ကာကိုအလင်း, အလယ်အလတ်နှင့်မိုးသည်းထန်စွာ, သို့သော်အစစ်အမှန်ဂိမ်း changer သည်သံချပ်ကာ Promers တွင်တည်ရှိပြီး - အစွမ်းထက်အခွင့်အရေးသည် Gameplay ကိုသိသိသာသာအကျိုးသက်ရောက်သည်။ ဤလမ်းညွှန်သည်သင်၏မဟာဗျူဟာရွေးချယ်မှုများကိုပိုမိုကောင်းမွန်စေရန် PUS ည့်သည်များနှင့် tier စာရင်းအပြည့်အစုံကိုအပြည့်အဝစာရင်းပေးထားသည်။
သံချပ်ကာများနှင့်သူတို့၏သက်ရောက်မှုများအားလုံး -
အောက်ပါဇယားသည် Helpivers 2 (1.002.003 ဂိမ်းဗားရှင်း) တွင်ရရှိနိုင်သည့်သံချပ်ကာ 2 ခုစီမှအသေးစိတ်ဖော်ပြထားသည်။ ခန္ဓာကိုယ်သံချပ်ကာကိုသာဤ pox များကိုသာထောက်ပံ့သည်ကိုသတိရပါ။ သံခမောက်လုံးနှင့် Capes များသည်အပိုဆောင်းအပိုဆုကြေးများကိုမကမ်းလှမ်းပါ။
| Armor Passive | Description |
|---|---|
| Acclimated | 50% resistance to acid, electrical, fire, and gas damage. |
| Advanced Filtration | 80% resistance to gas damage. |
| Democracy Protects | 50% chance to survive lethal attacks (like headshots); prevents chest injuries (like internal bleeding). |
| Electrical Conduit | 95% resistance to lightning arc damage. |
| Engineering Kit | +2 grenade capacity; 30% recoil reduction while crouching or prone. |
| Extra Padding | +50 armor rating. |
| Fortified | 50% resistance to explosive damage; 30% recoil reduction while crouching or prone. |
| Inflammable | 75% resistance to fire damage. |
| Med-Kit | +2 stim capacity; +2 seconds additional stim duration. |
| Peak Physique | 100% increased melee damage; improved weapon handling (reduced weapon movement drag). |
| Scout | 30% reduced enemy detection range; map markers generate radar scans revealing nearby enemies. |
| Servo-Assisted | 30% increased throwing range; 50% additional limb health. |
| Siege-Ready | 30% increased primary weapon reload speed; 30% increased primary weapon ammo capacity. |
| Unflinching | 95% reduced recoil flinching. |
heldivers 2 သံချပ်ကာ Passive Tier List:
ဤ Tier List သည်မစ်ရှင်များနှင့်ရန်သူအမျိုးအစားများတွင်တန်ဖိုးရှိသောတန်ဖိုး, အသုံးအဆောင်နှင့်ထိရောက်မှုအပေါ် အခြေခံ. passive များကိုအဆင့်သတ်မှတ်ထားသည်။

| Tier | Armor Passive | Why? |
|---|---|---|
| **S** | Engineering Kit | Extra grenades are invaluable for various tasks: sealing bug holes, destroying fabricators/warp ships, and utilizing thermites or stun grenades. |
| Med-Kit | Significantly boosts survival; synergizes exceptionally well with the Experimental Infusion booster, essentially granting near-death immunity. | |
| Siege-Ready | Substantially improves ammo management and reload times, making it ideal for handling large enemy groups, particularly with high-ammo weapons. | |
| **A** | Democracy Protects | Provides a strong defense boost, especially early game, increasing survivability against lethal damage. |
| Extra Padding | Offers consistent armor rating improvement, increasing overall damage resistance. | |
| Fortified | Exceptionally useful against Automatons, mitigating damage from rockets and enhancing weapon effectiveness against robotic enemies. | |
| Servo-Assisted | Highly effective against Terminids; the increased throwing range allows for safe stratagem deployment and grenade use, while also reducing injury from claw attacks. | |
| **B** | Peak Physique | While useful for reduced weapon drag, melee combat is generally avoided; its effectiveness is limited compared to other options. |
| Inflammable | Best suited for fire-based builds and missions with fire-related hazards; provides significant benefit against Terminids and Illuminate. | |
| Scout | Useful for revealing enemy positions, but its value is diminished by not highlighting points of interest or side objectives. | |
| **C** | Acclimated | Limited usefulness due to the rarity of encountering all four elemental damage types (acid, electrical, fire, gas) in a single mission. |
| Advanced Filtration | Only beneficial for gas-focused builds, and even then, the overall impact is relatively minor. | |
| Electrical Conduit | Primarily effective against Illuminate, but other options are generally superior, unless friendly fire is a major concern. | |
| Unflinching | The reduction in camera shake and recoil is minimal and doesn't significantly improve combat effectiveness. |
ဤလမ်းညွှန်နှင့် Tier List သည် Helpivers 2 တွင်သံချပ်ကာ Promits ကိုရွေးချယ်သောအခါသင့်အားဆုံးဖြတ်ချက်ချရန်ဆုံးဖြတ်ချက်များချမှတ်ရန်ကူညီသင့်သည်။ အကောင်းဆုံး passive ရွေးချယ်မှုသည်တိကျသောမစ်ရှင်နှင့်သင်၏ရွေးချယ်ထားသော playstyle အပေါ်မူတည်သည်ကိုသတိရပါ။


-
1

Stardew Valley- ကျက်သရေရှိမှုနှင့် လက်နက်အတုပြုလုပ်ရန် လမ်းညွှန်ချက်အပြည့်အစုံ
Jan 07,2025
-
2

Roblox UGC ကန့်သတ်ကုဒ်များကို 2025 ခုနှစ် ဇန်နဝါရီလတွင် ထုတ်ဖော်ပြသခဲ့သည်။
Jan 06,2025
-
3
Pokémon TCG Pocket- ပြဿနာဖြေရှင်းခြင်း Error 102 ကို ဖြေရှင်းပြီးပါပြီ။
Jan 08,2025
-
4
Blood Strike - 2025 ခုနှစ် ဇန်န၀ါရီလ 2025 တွင် အလုပ်လုပ်သော ရွေးနုတ်ကုဒ်များအားလုံး
Jan 08,2025
-
5
![roblox forsaken ဇာတ်ကောင် Tier List [update] (2025)](https://imgs.ksjha.com/uploads/18/17380116246797f3e8a8a39.jpg)
roblox forsaken ဇာတ်ကောင် Tier List [update] (2025)
Mar 17,2025
-
6

Blue Archive Cyber New Year March Event ကို ထုတ်ဖော်ပြသသည်။
Dec 19,2024
-
7

Cyber Quest- Android တွင်စွဲမက်ဖွယ်ကောင်းသော Card Battles တွင်ပါဝင်ပါ။
Dec 19,2024
-
8

Roblox- RIVALS ကုဒ်များ (ဇန်နဝါရီ 2025)
Jan 07,2025
-
9
Bart Bonte သည် ကြောင်တစ်ကောင်ကို 'For' ကိုရယူရန် သင်ကစားသည့်နေရာတွင် မစ်စတာအန်တိုနီယို ပဟေဋ္ဌိအသစ်တစ်ခုကို ချပေးခဲ့သည်။
Dec 18,2024
-
10
Girls' FrontLine 2: Exilium မကြာမီ ပွဲဦးထွက်
Dec 26,2024
-
ဒေါင်းလုဒ်လုပ်ပါ။

A Simple Life with My Unobtrusive Sister
ပေါ့ပေါ့ပါးပါး / 392.30M
အပ်ဒိတ်: Mar 27,2025
-
ဒေါင်းလုဒ်လုပ်ပါ။

Random fap scene
ပေါ့ပေါ့ပါးပါး / 20.10M
အပ်ဒိတ်: Dec 26,2024
-
ဒေါင်းလုဒ်လုပ်ပါ။
![Corrupting the Universe [v3.0]](https://imgs.ksjha.com/uploads/66/1719514653667db61d741e9.jpg)
Corrupting the Universe [v3.0]
ပေါ့ပေါ့ပါးပါး / 486.00M
အပ်ဒိတ်: Dec 17,2024
-
4
Ben 10 A day with Gwen
-
5
A Wife And Mother
-
6
Permit Deny
-
7
Arceus X script
-
8
Cute Reapers in my Room Android
-
9
Oniga Town of the Dead
-
10
Utouto Suyasuya