Helldivers 2: आर्मर पैसिव टियर लिस्ट
Helldivers 2 कवच पैसिव्स: एक व्यापक गाइड और टियर लिस्ट
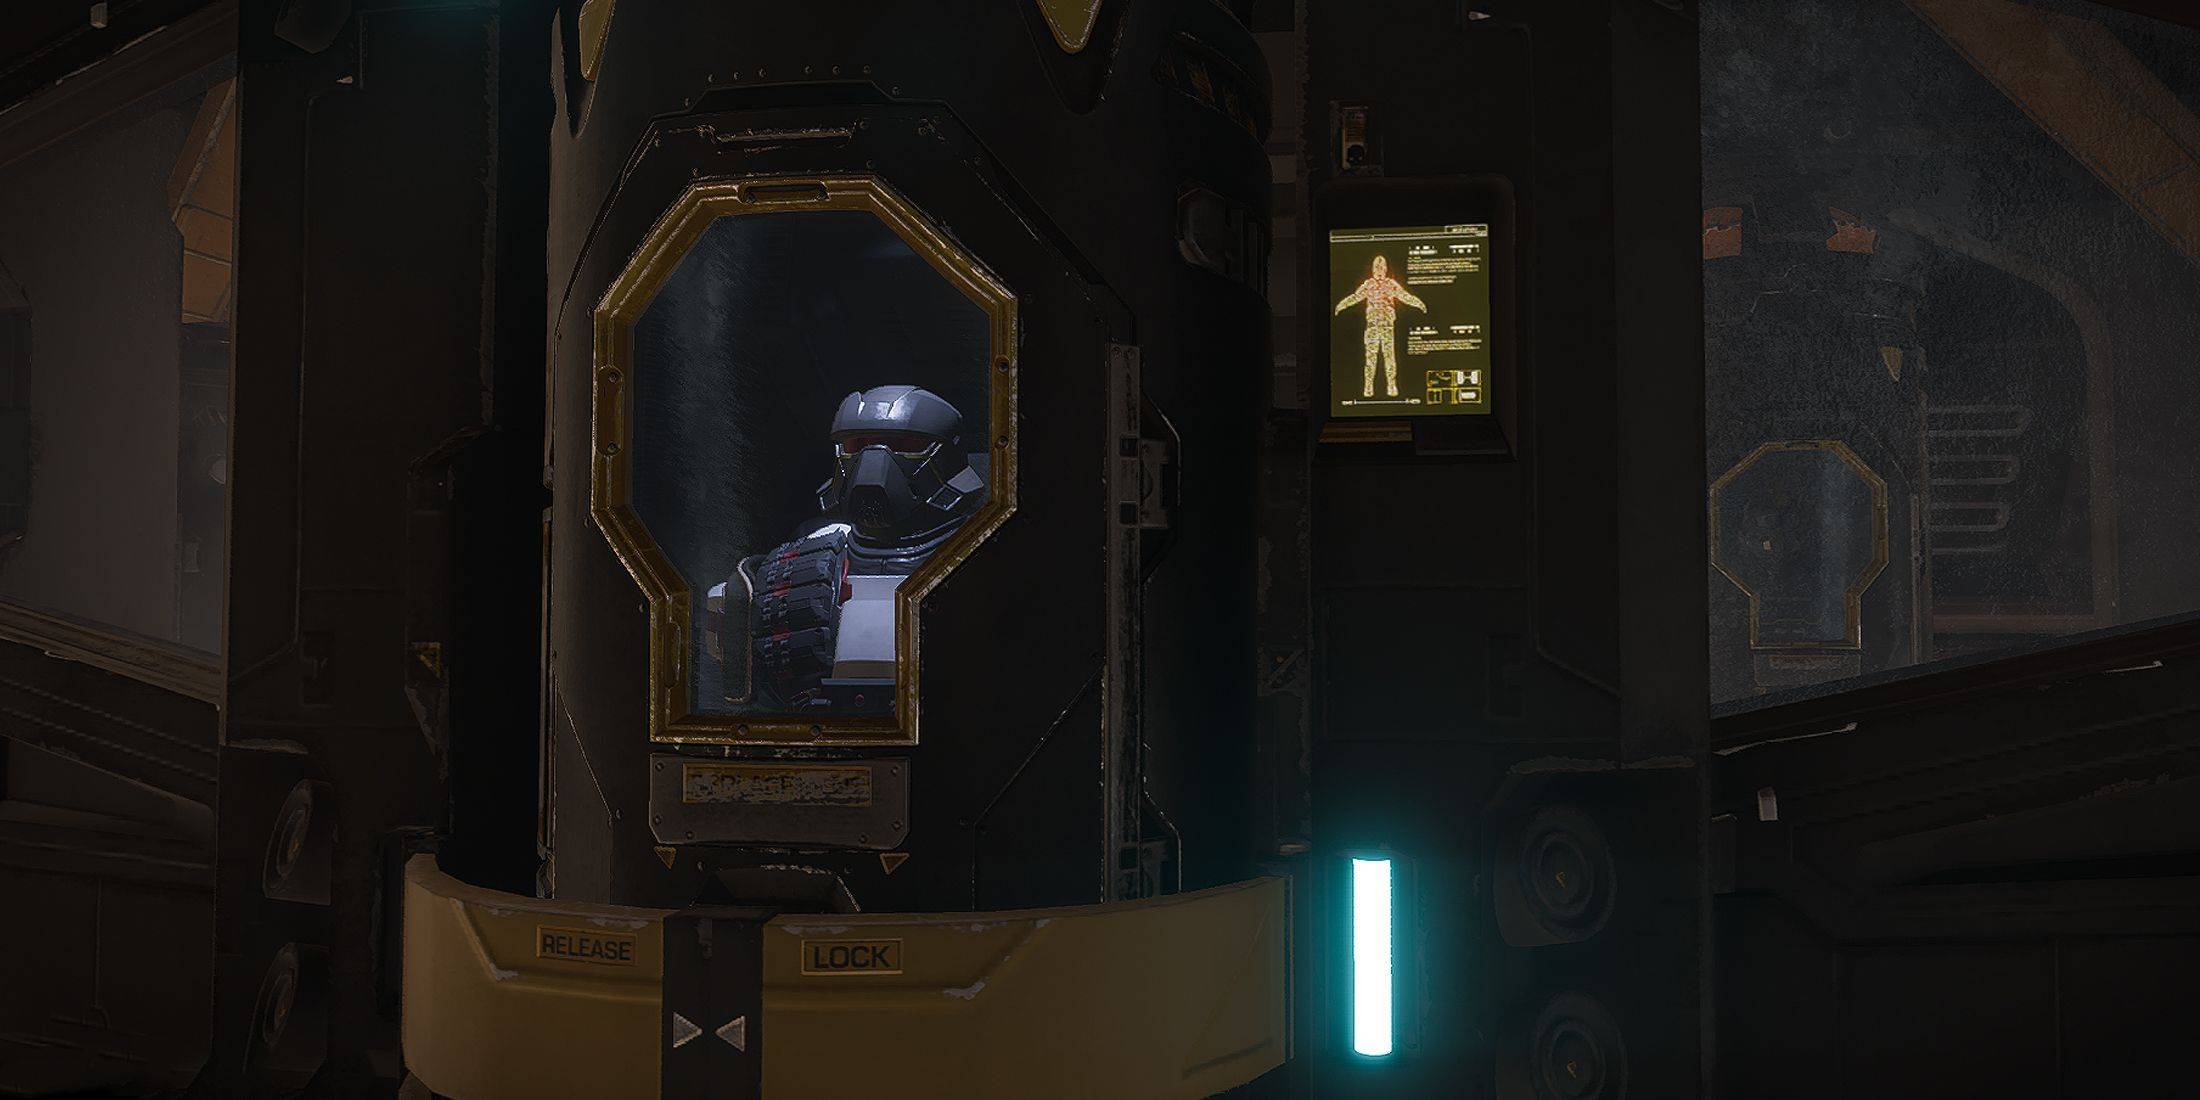
Helldivers 2 कवच को प्रकाश, मध्यम और भारी, गतिशीलता और रक्षा को प्रभावित करने वाले को वर्गीकृत करता है। हालांकि, असली गेम-चेंजर कवच पैसिव्स में निहित है-शक्तिशाली भत्तों से गेमप्ले को काफी प्रभावित होता है। यह गाइड आपके रणनीतिक विकल्पों को अनुकूलित करने के लिए सभी पैसिव और एक स्तरीय सूची की एक पूरी सूची प्रदान करता है।
सभी कवच निष्क्रिय और उनके प्रभाव:
निम्न तालिका में HellDivers 2 में उपलब्ध 14 कवच पैसिव में से प्रत्येक का विवरण है (1.002.003 गेम संस्करण के रूप में)। याद रखें, केवल बॉडी कवच इन पैसिव्स को अनुदान देता है; हेलमेट और कैप कोई अतिरिक्त बोनस नहीं देते हैं।
| Armor Passive | Description |
|---|---|
| Acclimated | 50% resistance to acid, electrical, fire, and gas damage. |
| Advanced Filtration | 80% resistance to gas damage. |
| Democracy Protects | 50% chance to survive lethal attacks (like headshots); prevents chest injuries (like internal bleeding). |
| Electrical Conduit | 95% resistance to lightning arc damage. |
| Engineering Kit | +2 grenade capacity; 30% recoil reduction while crouching or prone. |
| Extra Padding | +50 armor rating. |
| Fortified | 50% resistance to explosive damage; 30% recoil reduction while crouching or prone. |
| Inflammable | 75% resistance to fire damage. |
| Med-Kit | +2 stim capacity; +2 seconds additional stim duration. |
| Peak Physique | 100% increased melee damage; improved weapon handling (reduced weapon movement drag). |
| Scout | 30% reduced enemy detection range; map markers generate radar scans revealing nearby enemies. |
| Servo-Assisted | 30% increased throwing range; 50% additional limb health. |
| Siege-Ready | 30% increased primary weapon reload speed; 30% increased primary weapon ammo capacity. |
| Unflinching | 95% reduced recoil flinching. |
हेल्डिवर 2 कवच निष्क्रिय स्तर की सूची:
यह स्तरीय सूची विभिन्न मिशनों और दुश्मन प्रकारों में समग्र मूल्य, उपयोगिता और प्रभावशीलता के आधार पर निष्क्रिय को रैंक करती है।

| Tier | Armor Passive | Why? |
|---|---|---|
| **S** | Engineering Kit | Extra grenades are invaluable for various tasks: sealing bug holes, destroying fabricators/warp ships, and utilizing thermites or stun grenades. |
| Med-Kit | Significantly boosts survival; synergizes exceptionally well with the Experimental Infusion booster, essentially granting near-death immunity. | |
| Siege-Ready | Substantially improves ammo management and reload times, making it ideal for handling large enemy groups, particularly with high-ammo weapons. | |
| **A** | Democracy Protects | Provides a strong defense boost, especially early game, increasing survivability against lethal damage. |
| Extra Padding | Offers consistent armor rating improvement, increasing overall damage resistance. | |
| Fortified | Exceptionally useful against Automatons, mitigating damage from rockets and enhancing weapon effectiveness against robotic enemies. | |
| Servo-Assisted | Highly effective against Terminids; the increased throwing range allows for safe stratagem deployment and grenade use, while also reducing injury from claw attacks. | |
| **B** | Peak Physique | While useful for reduced weapon drag, melee combat is generally avoided; its effectiveness is limited compared to other options. |
| Inflammable | Best suited for fire-based builds and missions with fire-related hazards; provides significant benefit against Terminids and Illuminate. | |
| Scout | Useful for revealing enemy positions, but its value is diminished by not highlighting points of interest or side objectives. | |
| **C** | Acclimated | Limited usefulness due to the rarity of encountering all four elemental damage types (acid, electrical, fire, gas) in a single mission. |
| Advanced Filtration | Only beneficial for gas-focused builds, and even then, the overall impact is relatively minor. | |
| Electrical Conduit | Primarily effective against Illuminate, but other options are generally superior, unless friendly fire is a major concern. | |
| Unflinching | The reduction in camera shake and recoil is minimal and doesn't significantly improve combat effectiveness. |
इस गाइड और टियर सूची को हेल्डिव्स 2 में कवच पैसिव्स का चयन करते समय आपको सूचित निर्णय लेने में मदद करनी चाहिए, जो कि विदेशी खतरों के सामने अपने अस्तित्व और सफलता को अधिकतम करती है। याद रखें कि इष्टतम निष्क्रिय विकल्प अक्सर विशिष्ट मिशन और आपके चुने हुए प्लेस्टाइल पर निर्भर करता है।


-
1

Stardew Valley: जादू और हथियार बनाने के लिए एक संपूर्ण मार्गदर्शिका
Jan 07,2025
-
2

Roblox जनवरी 2025 के लिए यूजीसी लिमिटेड कोड का अनावरण किया गया
Jan 06,2025
-
3

पोकेमॉन टीसीजी पॉकेट: समस्या निवारण त्रुटि 102 का समाधान हो गया
Jan 08,2025
-
4
ब्लड स्ट्राइक - सभी वर्किंग रिडीम कोड जनवरी 2025
Jan 08,2025
-
5
![Roblox Forsaken वर्णों की सूची [अद्यतन] (2025)](https://imgs.ksjha.com/uploads/18/17380116246797f3e8a8a39.jpg)
Roblox Forsaken वर्णों की सूची [अद्यतन] (2025)
Mar 17,2025
-
6

Blue Archive साइबर नव वर्ष मार्च कार्यक्रम का अनावरण किया
Dec 19,2024
-
7

साइबर क्वेस्ट: एंड्रॉइड पर मनोरम कार्ड बैटल में संलग्न रहें
Dec 19,2024
-
8

Roblox: प्रतिद्वंद्वी कोड (जनवरी 2025)
Jan 07,2025
-
9

बार्ट बोंटे ने एक नई पहेली छोड़ी मिस्टर एंटोनियो जहां आप एक बिल्ली के लिए 'फ़ेच' खेलते हैं!
Dec 18,2024
-
10
लड़कियों का FrontLine 2: एक्सिलियम जल्द ही शुरू होगा
Dec 26,2024
-
डाउनलोड करना

A Simple Life with My Unobtrusive Sister
अनौपचारिक / 392.30M
अद्यतन: Mar 27,2025
-
डाउनलोड करना

Random fap scene
अनौपचारिक / 20.10M
अद्यतन: Dec 26,2024
-
डाउनलोड करना
![Corrupting the Universe [v3.0]](https://imgs.ksjha.com/uploads/66/1719514653667db61d741e9.jpg)
Corrupting the Universe [v3.0]
अनौपचारिक / 486.00M
अद्यतन: Dec 17,2024
-
4
Ben 10 A day with Gwen
-
5
A Wife And Mother
-
6
Permit Deny
-
7
Roblox
-
8
Cute Reapers in my Room Android
-
9
Oniga Town of the Dead
-
10
Utouto Suyasuya