How to Connect Your PlayStation VR2 Headset to a PC: Step-by-Step Guide
Unlocking the PlayStation VR2 on PC: A Comprehensive Guide
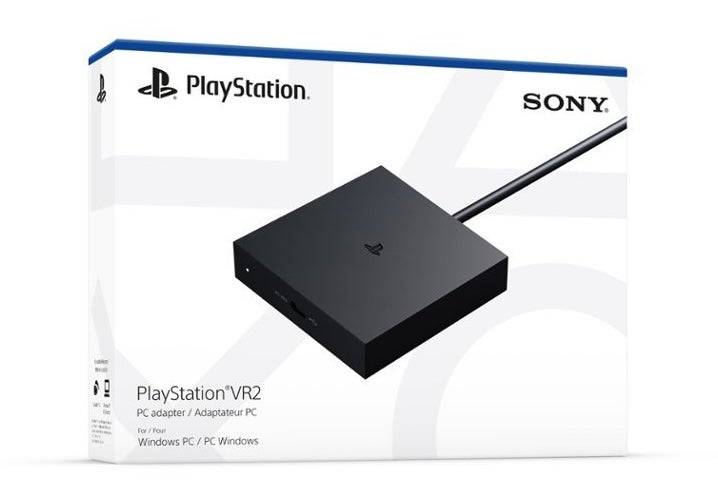
For PS VR2 owners eager to explore SteamVR's extensive game library, the previously limited options have expanded significantly with Sony's $60 PC adapter. This adapter allows compatibility with most SteamVR titles, but connecting isn't always straightforward. While marketed as plug-and-play, some configuration may be necessary depending on your PC setup.
Essential Hardware and Software:
Before proceeding, ensure you have the following:
- PlayStation VR2 Headset: The core component.
- PlayStation VR2 PC Adapter: Includes an AC adapter and USB 3.0 Type-A cable.
- DisplayPort 1.4 Cable: Sold separately; crucial for connection.
- Free USB 3.0 Type-A Port: (Note: Sony advises against extension cables or external hubs, though a powered external hub may work.)
- Bluetooth 4.0 Capability: Built-in or via an external adapter (like the Asus BT500).
- Steam and SteamVR: Installed on your PC.
- PlayStation VR2 App: Installed within Steam.
- USB-C Charging Ports and Cables: For the Sense controllers (a charging station is also available).
Connecting Your PS VR2 to Your PC: A Step-by-Step Guide
-
Software Installation: Install Steam, SteamVR, and the PlayStation VR2 app.
-
Bluetooth Setup and Controller Pairing:
- Enable Bluetooth in your PC's settings.
- Pair your Sense controllers by holding the PlayStation and Create buttons until the light blinks.
- Add them as Bluetooth devices in your PC's settings.
- If using an external Bluetooth adapter alongside a built-in one, disable the internal Bluetooth driver in Device Manager.
-
Adapter Connection:
- Connect the PS VR2 adapter to a USB 3.0 Type-A port.
- Connect the adapter to your GPU's DisplayPort 1.4 slot using the DisplayPort cable.
- Connect the AC power adapter and plug it into an outlet. The adapter's indicator will turn solid red when powered on.
- Connect the PS VR2 headset to the adapter's USB-C port.
-
Optional: Disable Hardware-Accelerated GPU Scheduling: For newer GPUs (e.g., Nvidia RTX 40-series), disabling this setting in Windows graphics settings may improve stability. Restart your PC afterward.
-
Launch and Setup:
- Power on the PS VR2 headset.
- Launch SteamVR and set it as your default OpenXR runtime.
- Open the PlayStation VR2 app to update controller firmware and configure your headset (Play Area, IPD, display distance, etc.). Follow on-screen instructions.
-
Enjoy! Once setup is complete, you're ready to play SteamVR games.
Direct Connection (Without Adapter)?
Currently, a direct connection without the adapter is unreliable. While some users report success using a VirtualLink-enabled GPU (circa 2018) and the PlayStation VR2 app, this is not a guaranteed method.
This detailed guide ensures a smoother PS VR2 PC setup experience, maximizing your access to SteamVR's vast gaming library.


-
1
![Roblox Forsaken Characters Tier List [UPDATED] (2025)](https://imgs.ksjha.com/uploads/18/17380116246797f3e8a8a39.jpg)
Roblox Forsaken Characters Tier List [UPDATED] (2025)
Mar 17,2025
-
2
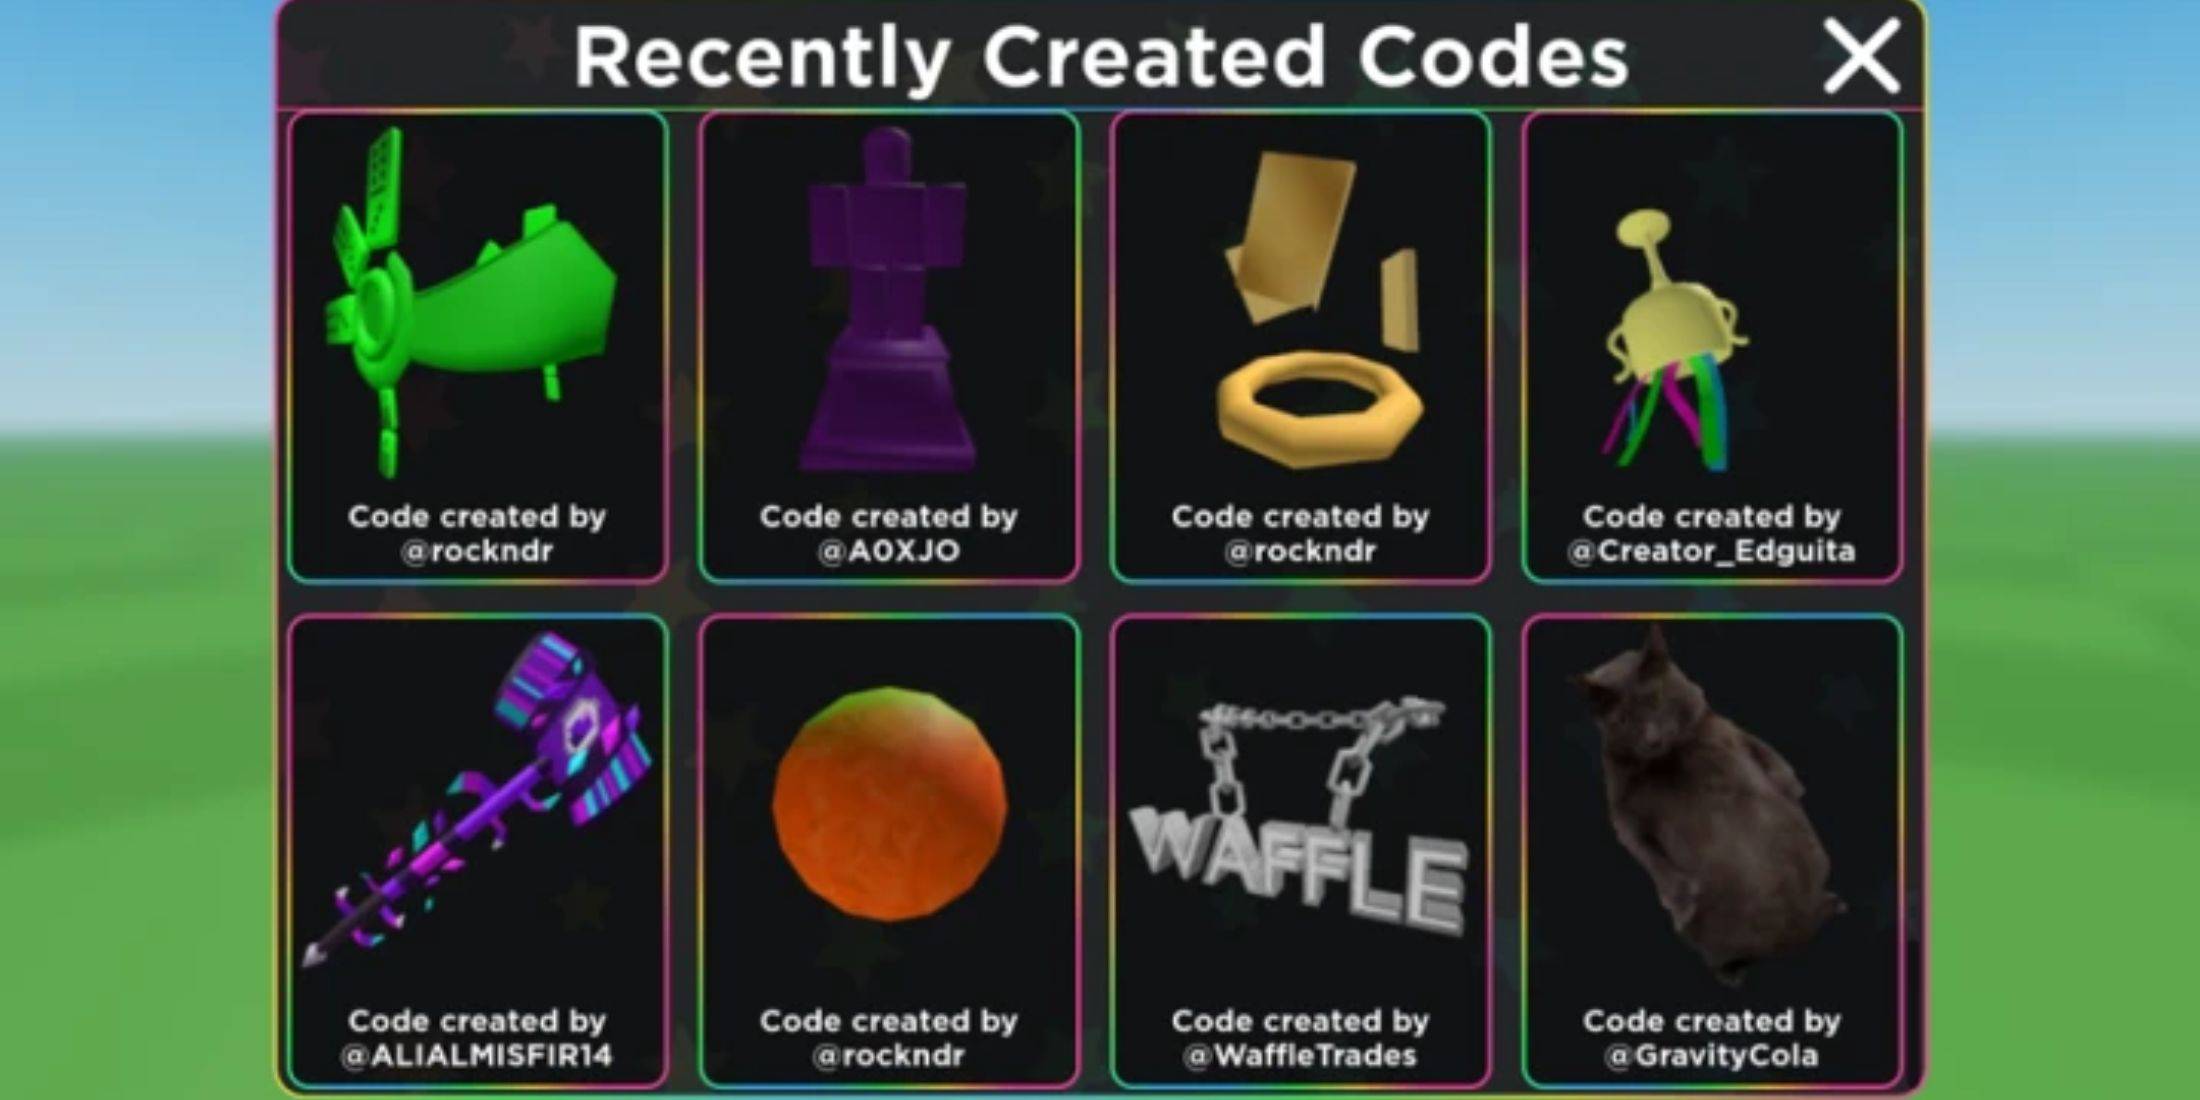
Roblox UGC Limited Codes Unveiled for January 2025
Jan 06,2025
-
3
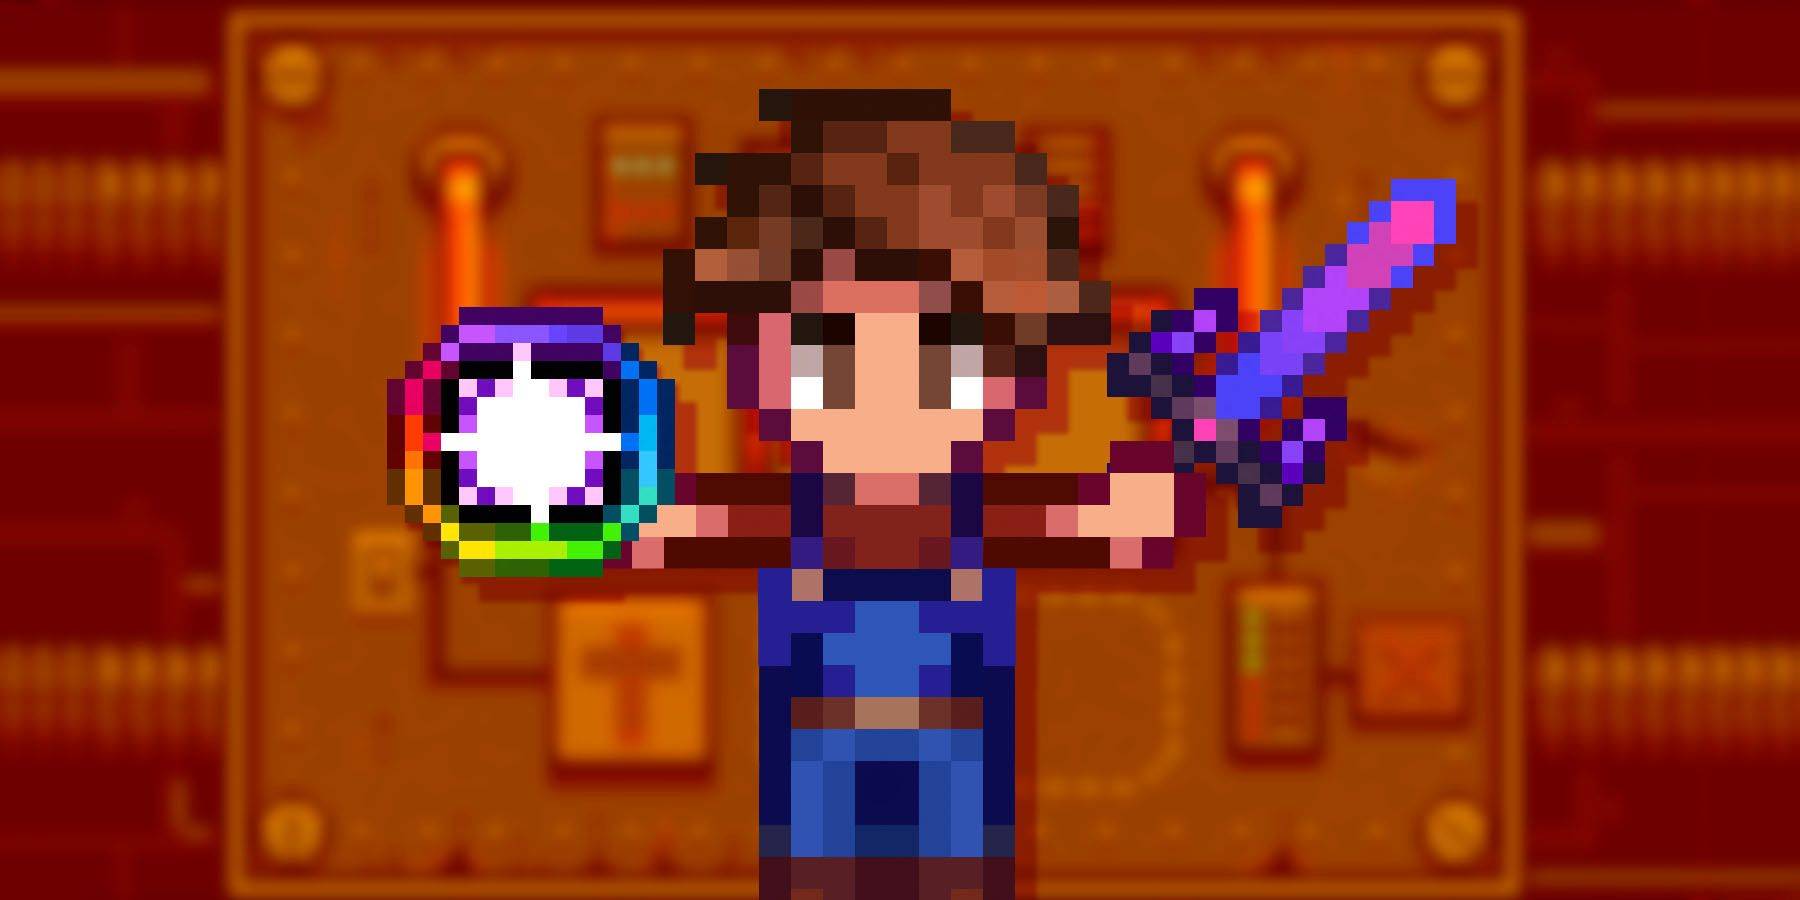
Stardew Valley: A Complete Guide To Enchantments & Weapon Forging
Jan 07,2025
-
4
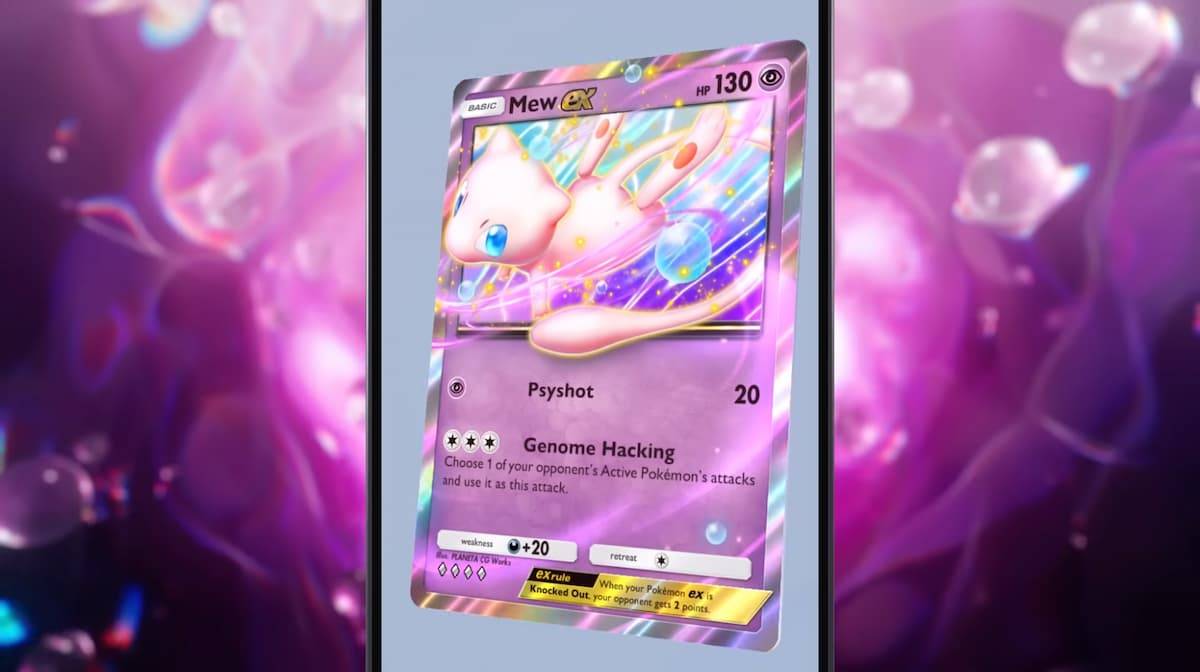
Pokémon TCG Pocket: Troubleshooting Error 102 Resolved
Jan 08,2025
-
5

Free Fire Characters 2025: Ultimate Guide
Feb 20,2025
-
6
Blood Strike - All Working Redeem Codes January 2025
Jan 08,2025
-
7

Roblox: RIVALS Codes (January 2025)
Jan 07,2025
-
8

Blue Archive Unveils Cyber New Year March Event
Dec 19,2024
-
9

Delta Force: A Complete Guide to All Campaign Missions
Apr 09,2025
-
10
Cyber Quest: Engage in Captivating Card Battles on Android
Dec 19,2024
-
Download

A Simple Life with My Unobtrusive Sister
Casual / 392.30M
Update: Mar 27,2025
-
Download
![Corrupting the Universe [v3.0]](https://imgs.ksjha.com/uploads/66/1719514653667db61d741e9.jpg)
Corrupting the Universe [v3.0]
Casual / 486.00M
Update: Dec 17,2024
-
Download

Random fap scene
Casual / 20.10M
Update: Dec 26,2024
-
4
Ben 10 A day with Gwen
-
5
Oniga Town of the Dead
-
6
Cute Reapers in my Room Android
-
7
A Wife And Mother
-
8
Permit Deny
-
9
Utouto Suyasuya
-
10
My School Is A Harem