Mod Purge: Wipe Mods, Keep Progress
Ready or Not: A Comprehensive Guide to Removing Mods
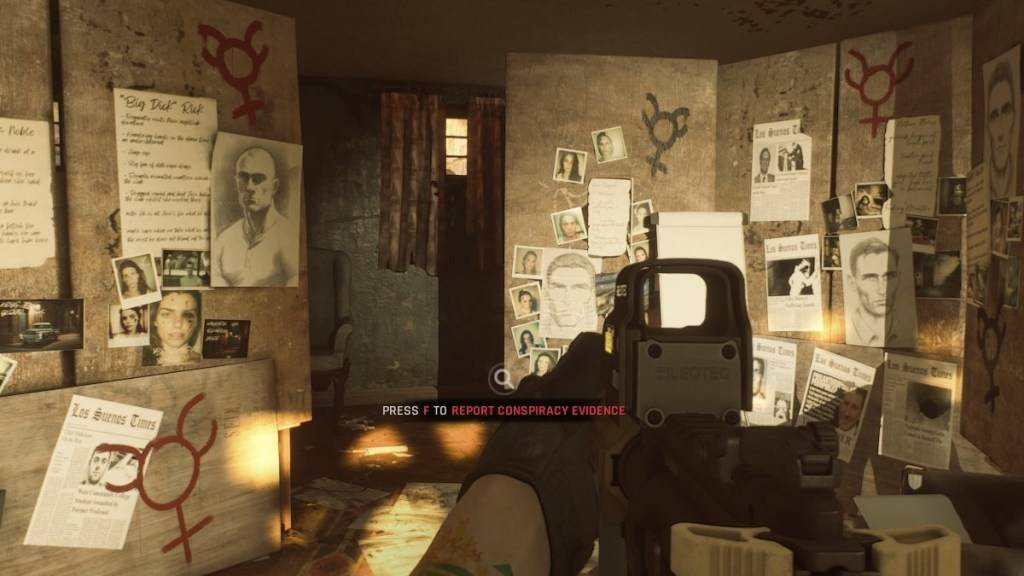
Mods enhance the Ready or Not experience, but they can also cause instability and prevent multiplayer with unmodded players. This guide details how to completely remove all mods from your game.
Removing Mods: A Step-by-Step Guide
Regardless of your mod installation method (Nexus Mod Manager, mod.io, etc.), follow these steps:
-
Unsubscribe: Launch Ready or Not. In the in-game Mod Menu, unsubscribe from all active mods. This prevents re-downloads after deletion. Close the game.
-
Steam Directory Access: Open Steam, right-click Ready or Not in your Library, select "Properties," then "Local Files," and finally "Browse." This opens the game's directory.
-
Delete Paks Folder (Main Directory): Navigate to Ready Or Not > Content > Paks. Delete all files and folders within the "Paks" folder. Then, delete the "Paks" folder itself.
-
Delete Paks Folder (LocalAppData): Press Windows+R, type
%localappdata%, and press Enter. Locate the Ready Or Not folder, navigate to Ready Or Not > Saved > Paks, and delete the "Paks" folder within. -
Verify Game Files: Right-click Ready or Not in Steam, go to "Properties" > "Local Files" > "Verify Integrity of Game Files." This ensures a clean game installation.
-
Optional Reinstall: For a completely fresh start (recommended if you won't be using mods again), consider reinstalling Ready or Not.
Why Delete Mods?
While mods add content and features, they can introduce errors, bugs, and glitches. A clean mod removal often resolves these issues. Furthermore, mods prevent multiplayer with players who don't have the same mods installed. Deleting mods allows for seamless gameplay with friends.
Ready or Not is available now on PC.
-

happn: Dating, Chat & Meet
-

Stranger Chat - No Login
-

Dating App: Chat, Meet, Date
-

senior dating and chat
-

Video chat for adult
-

Chat online - People in Love
-

Curvy Singles Dating
-

True Love – Find a date. Chat and Flirt for free
-

Ashley Madison
-

Excess Telecom App
-

PUTLOCKER: MOVIES & SERIES
-

Streameast App Stream Advices
-
1
![Roblox Forsaken Characters Tier List [UPDATED] (2025)](https://imgs.ksjha.com/uploads/18/17380116246797f3e8a8a39.jpg)
Roblox Forsaken Characters Tier List [UPDATED] (2025)
Mar 17,2025
-
2
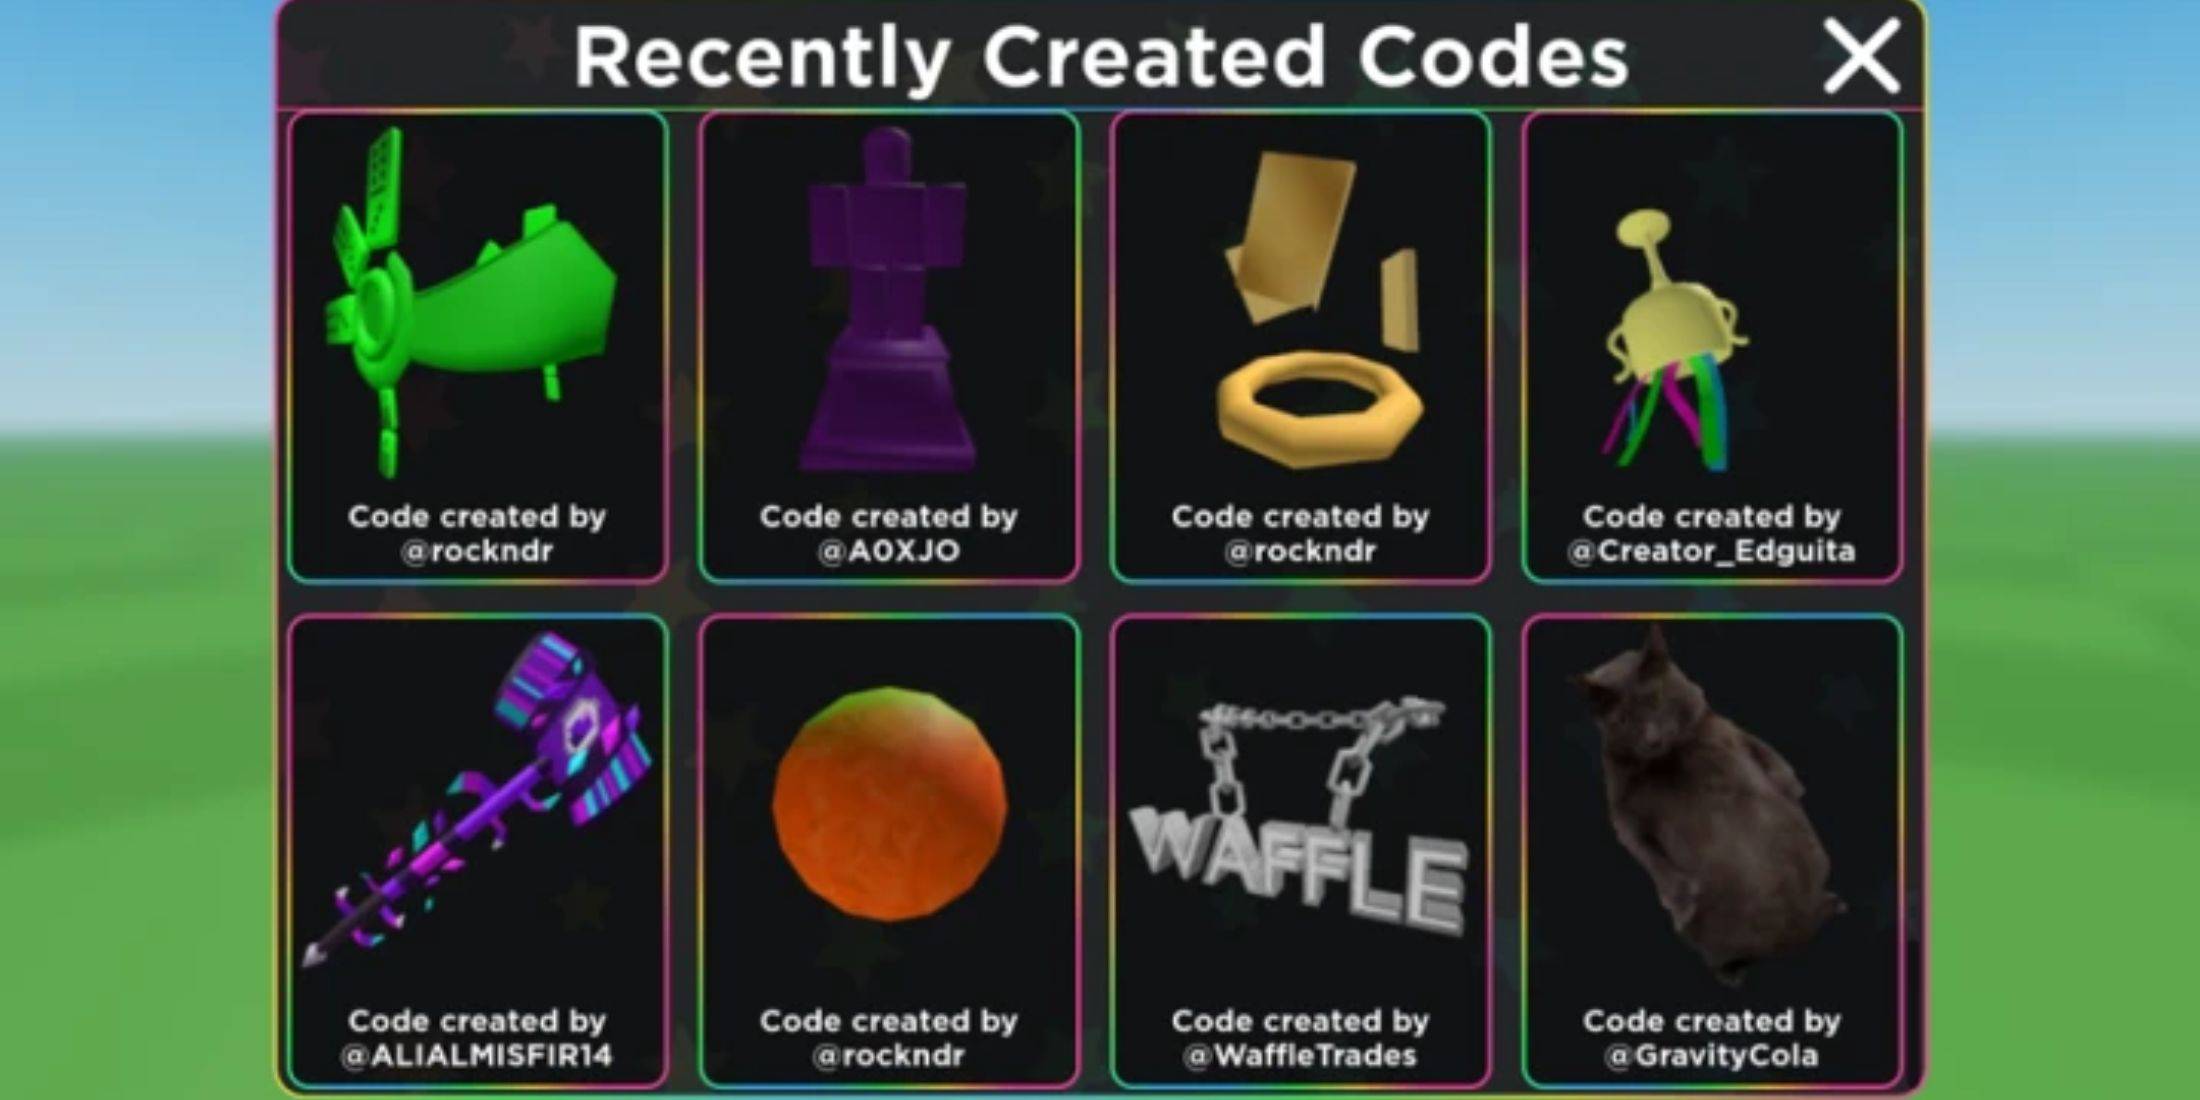
Roblox UGC Limited Codes Unveiled for January 2025
Jan 06,2025
-
3
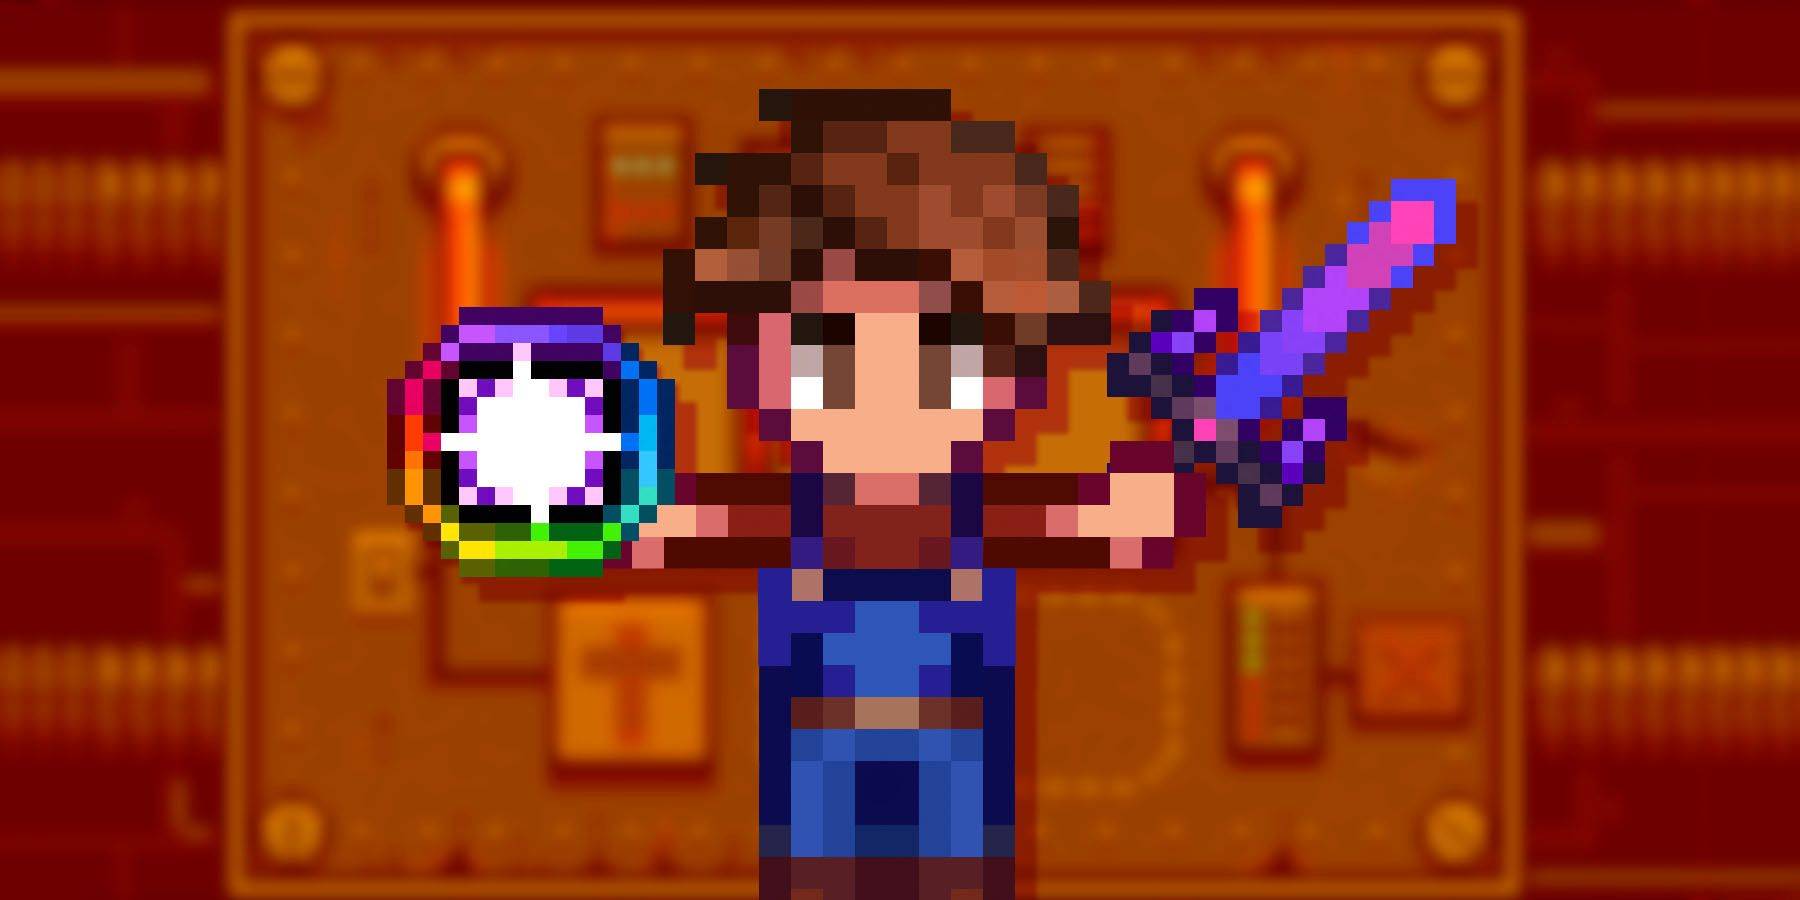
Stardew Valley: A Complete Guide To Enchantments & Weapon Forging
Jan 07,2025
-
4
Pokémon TCG Pocket: Troubleshooting Error 102 Resolved
Jan 08,2025
-
5

Free Fire Characters 2025: Ultimate Guide
Feb 20,2025
-
6
Blood Strike - All Working Redeem Codes January 2025
Jan 08,2025
-
7

Roblox: RIVALS Codes (January 2025)
Jan 07,2025
-
8
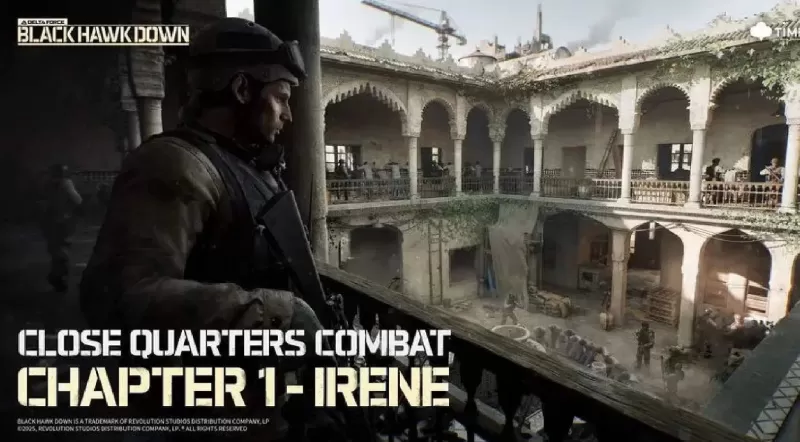
Delta Force: A Complete Guide to All Campaign Missions
Apr 09,2025
-
9

Blue Archive Unveils Cyber New Year March Event
Dec 19,2024
-
10

Cyber Quest: Engage in Captivating Card Battles on Android
Dec 19,2024
-
Download

A Simple Life with My Unobtrusive Sister
Casual / 392.30M
Update: Mar 27,2025
-
Download
![Corrupting the Universe [v3.0]](https://imgs.ksjha.com/uploads/66/1719514653667db61d741e9.jpg)
Corrupting the Universe [v3.0]
Casual / 486.00M
Update: Dec 17,2024
-
Download

Ben 10 A day with Gwen
Casual / 47.41M
Update: Feb 24,2025
-
4
Random fap scene
-
5
Oniga Town of the Dead
-
6
Cute Reapers in my Room Android
-
7
A Wife And Mother
-
8
Permit Deny
-
9
My School Is A Harem
-
10
Utouto Suyasuya