How to Connect the Asus ROG Ally to a TV or Gaming Monitor
The ROG Ally, a compelling Steam Deck alternative, gained popularity in 2023 for its Windows OS and expanded game library. The 2023 ROG Ally X enhanced this with upgraded internals and improved ergonomics.
While its portability is a key feature, enjoying games on a larger screen is also desirable. Both ROG Ally models offer external display connectivity for big-screen gaming. Below, we detail how to connect your ROG Ally to a TV or monitor, providing step-by-step instructions and recommendations.
Connecting with an Adapter
Several methods exist, but adapters offer a simple, space-saving solution. Options include small dongles, direct cables, or the official ROG Gaming Charger Dock.
Required Items
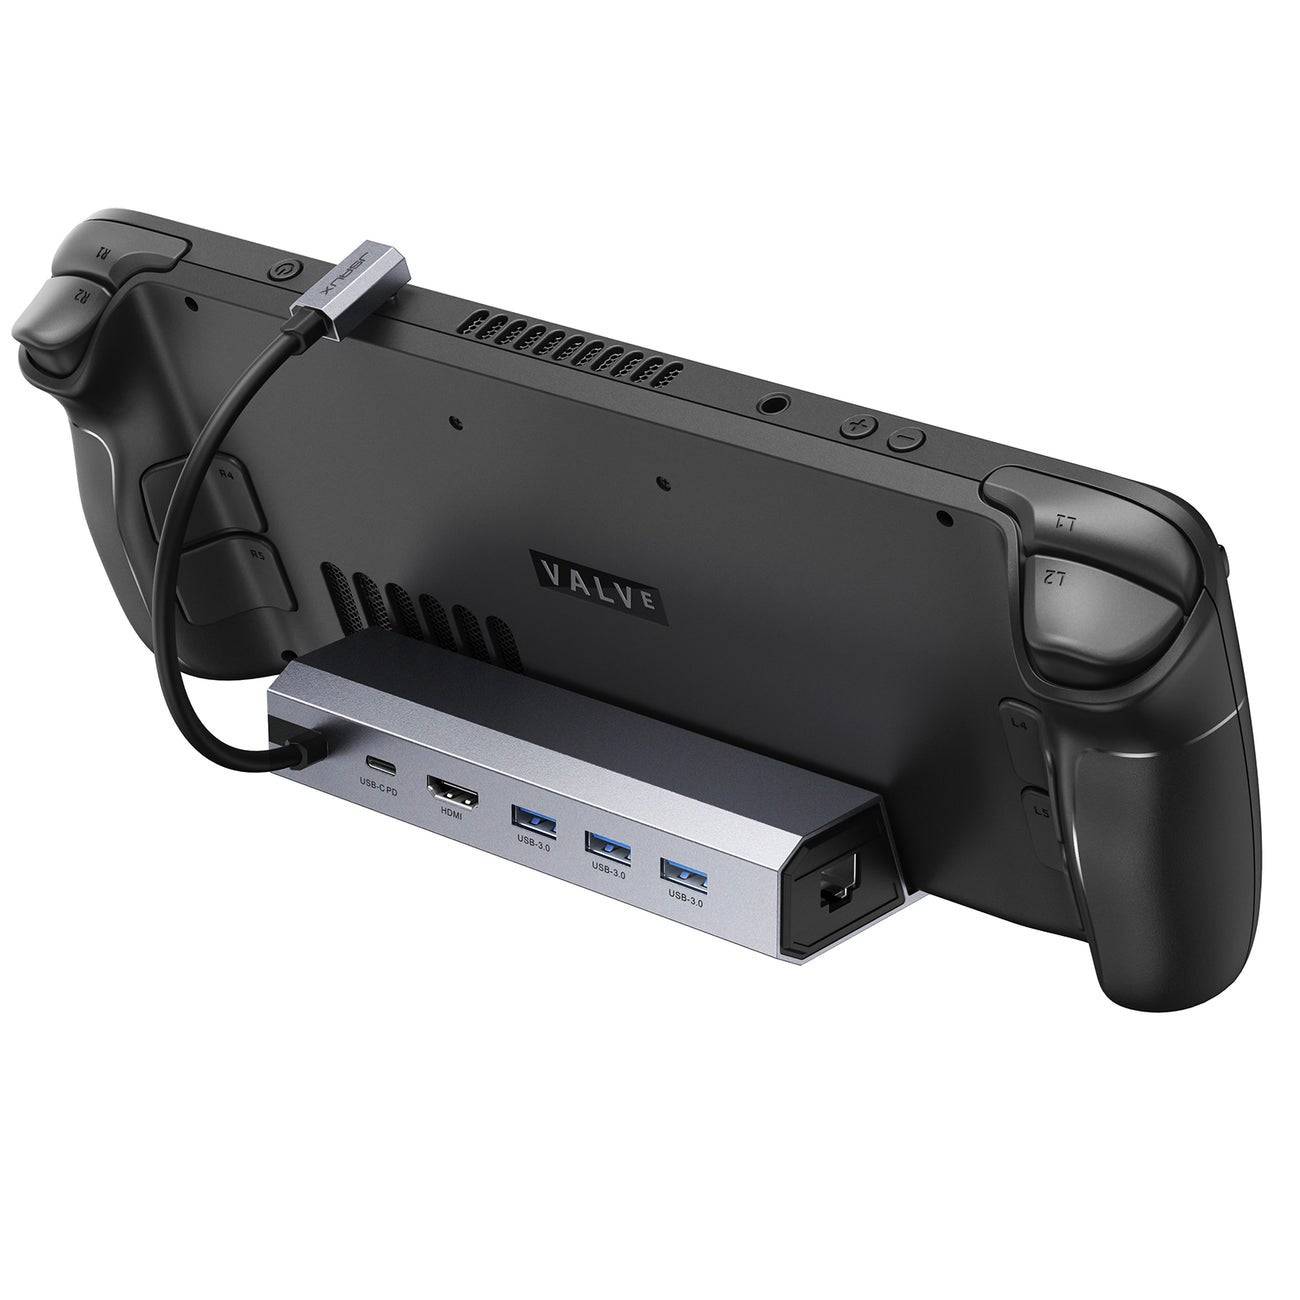
 ### ASUS ROG 65W Charger Dock
0Supports HDMI 2.0, USB-A, and USB-C for seamless ROG Ally connectivity.See it at Best BuyAsus simplifies connecting the ROG Ally to a TV. The official ROG Gaming Charger Dock is optimal, acting as both a charger and adapter. A USB-C and HDMI cable are all that's needed. The dock also includes a USB-A port for mouse/keyboard connectivity.
Third-party USB-C to HDMI adapters connect directly to the Ally's USB-C port. An HDMI cable then links the adapter to your TV/monitor. Alternatively, a direct USB-C to HDMI cable eliminates extra steps.
Note: Some USB-C to HDMI adapters offer passthrough USB-C power. If so, an additional USB-C cable and power adapter are needed for charging during gameplay.
Step-by-Step Instructions
- Plug a USB-C to HDMI adapter (or cable) into the Ally's top USB-C port. For the ROG Gaming Charger Dock, connect a USB-C cable between the Ally and the dock's USB-C port.
- Connect an HDMI cable from the adapter (or dock) to your TV/monitor's HDMI port. For a direct USB-C to HDMI cable, connect directly to the TV/monitor.
- (Optional) If your adapter has passthrough power, connect your Ally's power adapter.
- Power on the Ally; it should automatically detect and output the video signal.
- Switch your TV/monitor's input to the correct HDMI source.
Connecting with a Docking Station
For a Nintendo Switch-like setup, consider a docking station. While no official dock exists (besides the ROG Gaming Charger Dock), numerous third-party options are available. These offer a stand for the Ally and charging capabilities.
Required Items
 Our Top Pick### JSAUX Docking Station HB0603
2100 watts of power for rapid charging and multiple ports in a lightweight, compact design that also functions as a stand.See it at AmazonBasic docks typically include an HDMI port and a USB-C passthrough charging port. More advanced docks offer additional USB ports (for peripherals), Ethernet ports, SD card slots, and even DisplayPort for multiple displays. Smaller, portable docks are ideal for travel. Many Steam Deck docks are also compatible.
Step-by-Step Instructions
- Place the ROG Ally in the dock.
- Connect the USB-C power cord to the Ally's top USB-C port.
- Connect the Ally's power adapter to the dock's USB-C charging port.
- Connect an HDMI cable from the dock to your TV/monitor's HDMI port.
- Power on the Ally; it should automatically detect and output the video signal.
- Switch your TV/monitor's input to the correct HDMI source.
Controller Considerations
While mouse/keyboard connectivity is possible, a wireless controller provides a more comfortable big-screen experience. The ROG Ally supports Bluetooth controllers. The following are recommended (and compatible with the Steam Deck):
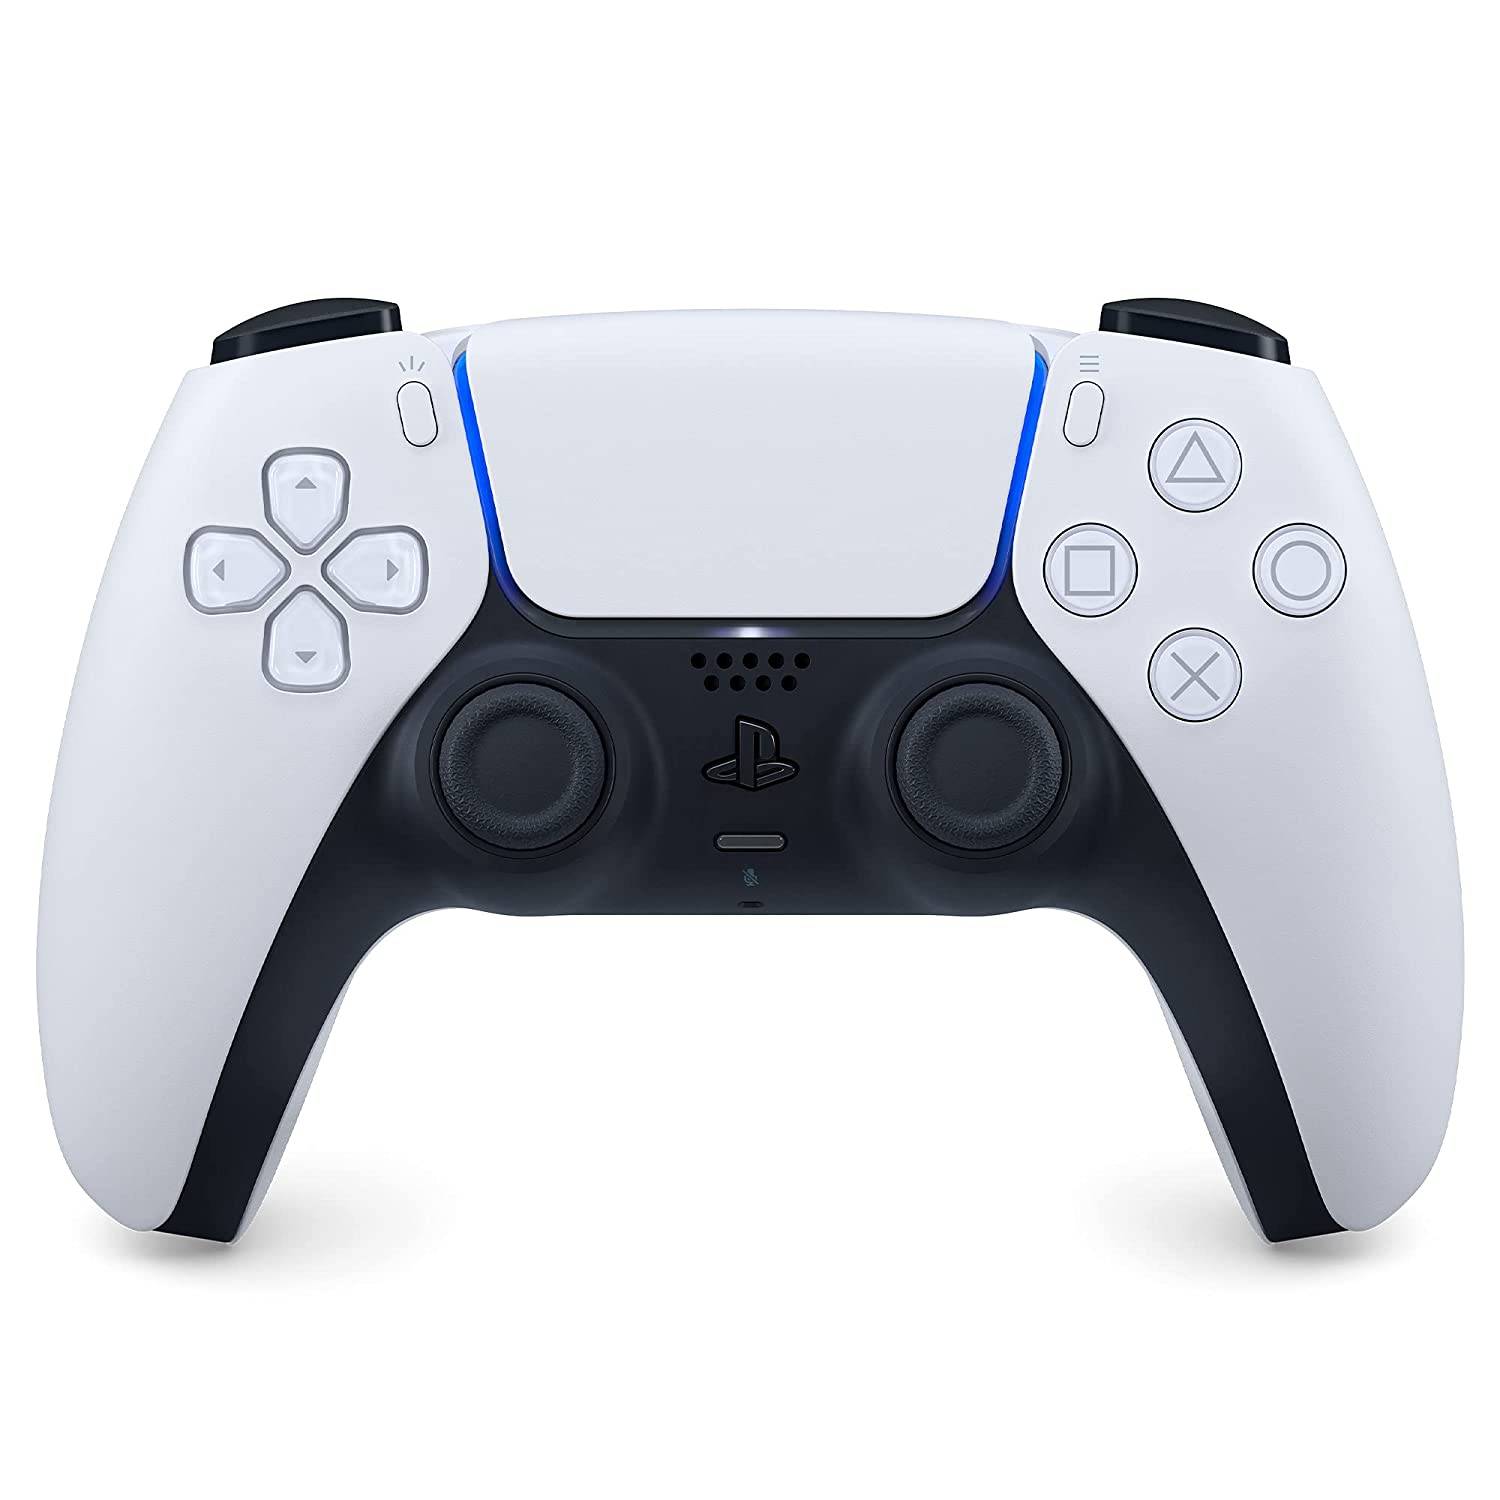 Our Top Pick### Sony DualSense
1See it at AmazonSee it at Best BuySee it at Target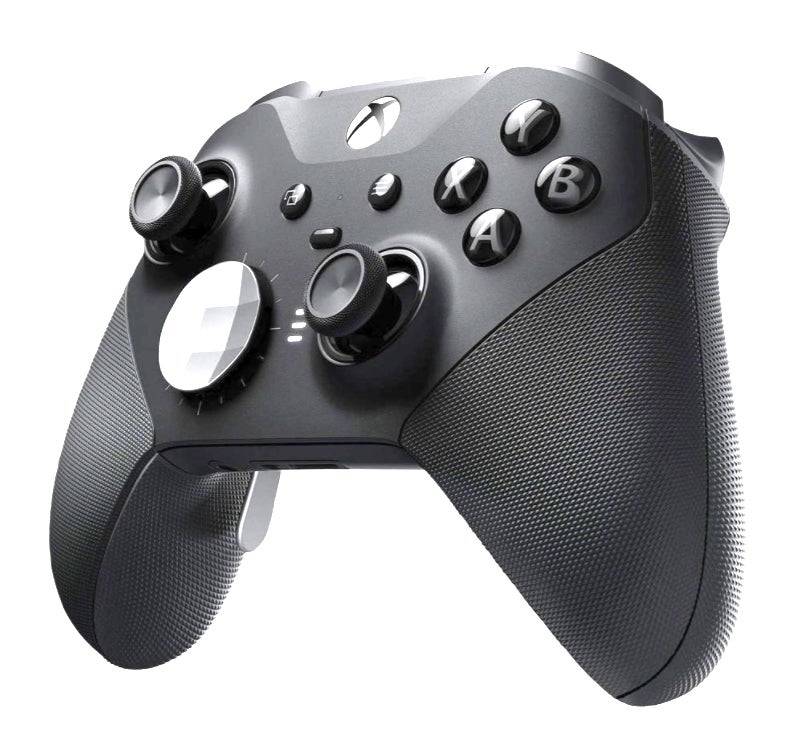 ### Xbox Elite Series 2 Controller
4See it at AmazonSee it at Best Buy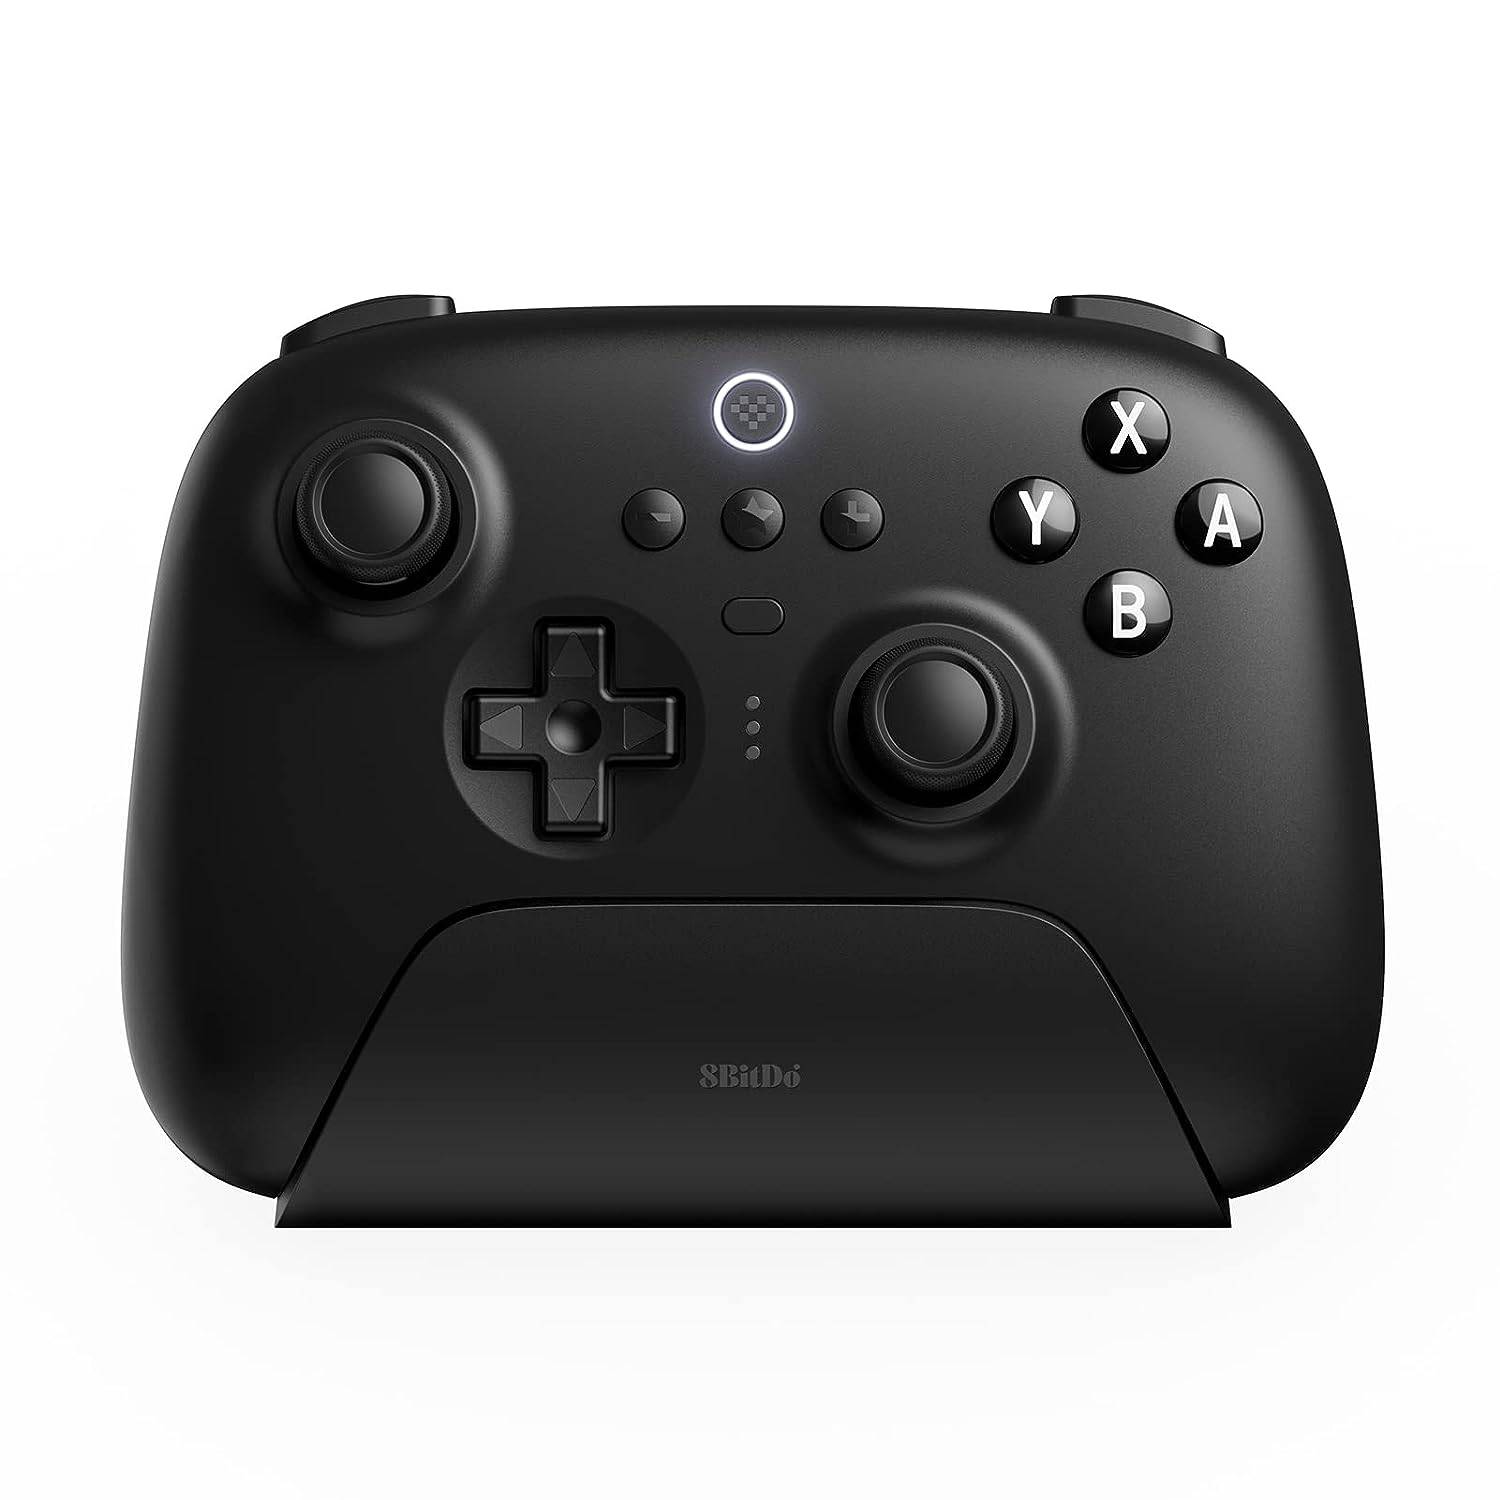 ### 8BitDo Ultimate Controller
0See it at Amazon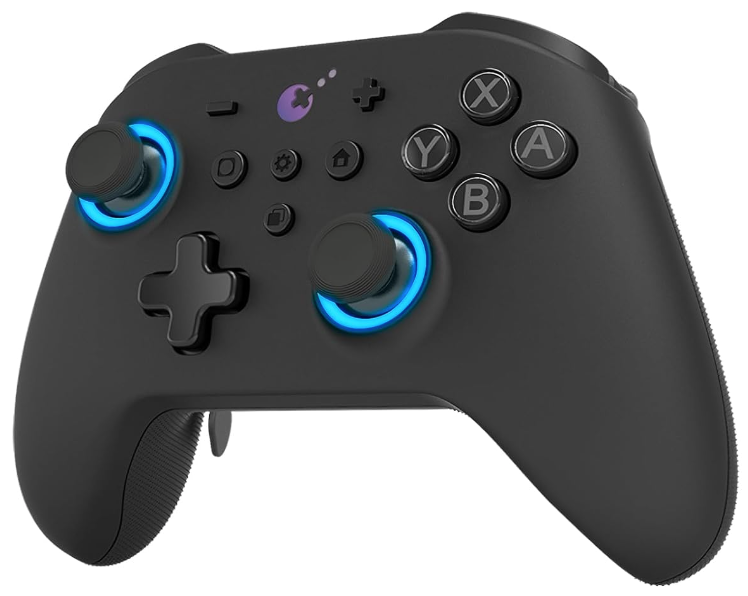 ### GuliKit KingKong 3 Max Controller
1See it at Amazon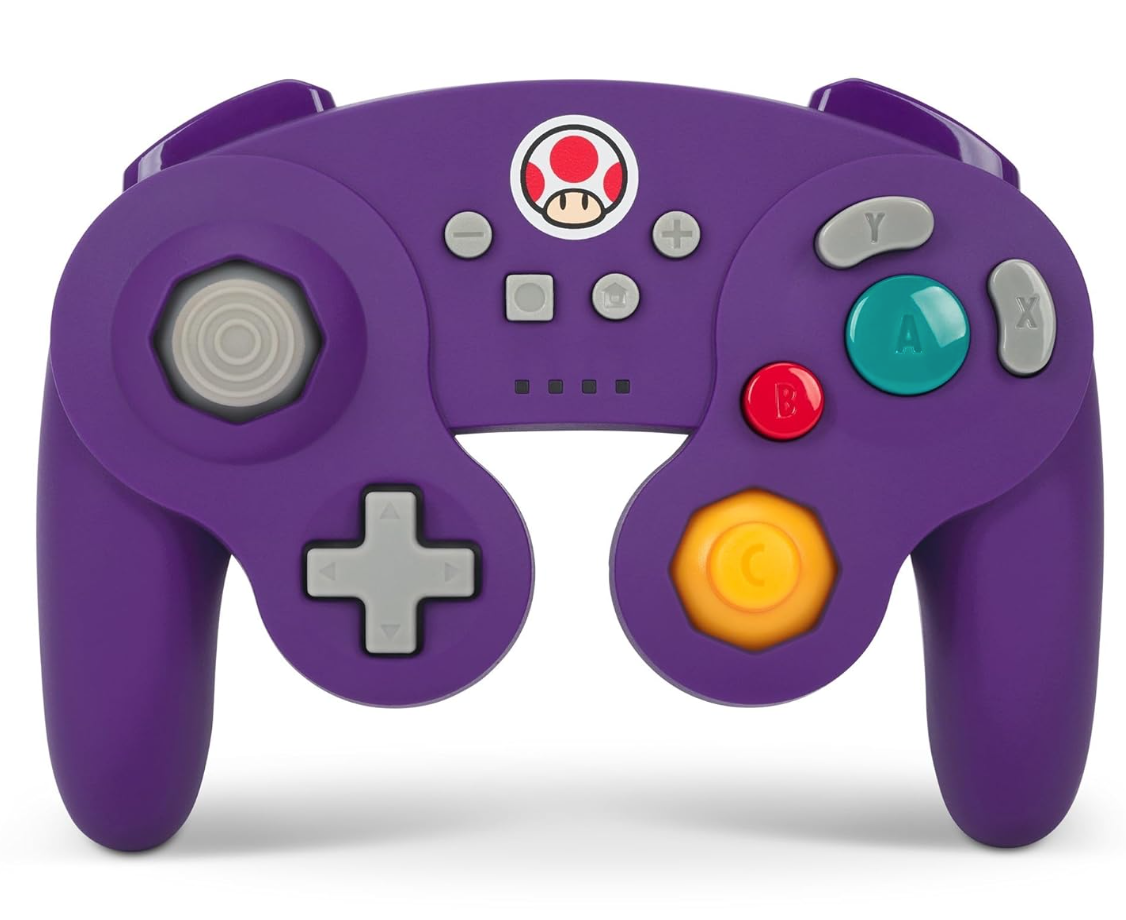 ### PowerA Wireless GameCube Style Controller
2See it at AmazonOptions include the DualSense, Xbox Wireless Controller, Nintendo Switch Pro Controller, and various third-party controllers. 2.4GHz wireless controllers (with USB adapters) often offer lower latency and better range than Bluetooth. Wired USB controllers are also viable for close proximity.


-
1
![Roblox Forsaken Characters Tier List [UPDATED] (2025)](https://imgs.ksjha.com/uploads/18/17380116246797f3e8a8a39.jpg)
Roblox Forsaken Characters Tier List [UPDATED] (2025)
Mar 17,2025
-
2
Roblox UGC Limited Codes Unveiled for January 2025
Jan 06,2025
-
3

Stardew Valley: A Complete Guide To Enchantments & Weapon Forging
Jan 07,2025
-
4

Pokémon TCG Pocket: Troubleshooting Error 102 Resolved
Jan 08,2025
-
5

Free Fire Characters 2025: Ultimate Guide
Feb 20,2025
-
6
Blood Strike - All Working Redeem Codes January 2025
Jan 08,2025
-
7

Roblox: RIVALS Codes (January 2025)
Jan 07,2025
-
8

Blue Archive Unveils Cyber New Year March Event
Dec 19,2024
-
9

Delta Force: A Complete Guide to All Campaign Missions
Apr 09,2025
-
10

Cyber Quest: Engage in Captivating Card Battles on Android
Dec 19,2024
-
Download

A Simple Life with My Unobtrusive Sister
Casual / 392.30M
Update: Mar 27,2025
-
Download
![Corrupting the Universe [v3.0]](https://imgs.ksjha.com/uploads/66/1719514653667db61d741e9.jpg)
Corrupting the Universe [v3.0]
Casual / 486.00M
Update: Dec 17,2024
-
Download

Random fap scene
Casual / 20.10M
Update: Dec 26,2024
-
4
Ben 10 A day with Gwen
-
5
Oniga Town of the Dead
-
6
Cute Reapers in my Room Android
-
7
A Wife And Mother
-
8
Permit Deny
-
9
Utouto Suyasuya
-
10
My School Is A Harem